Making Process: Behind the scene
Why I’m sharing my process
When you decide to buy handmade products for your home, understanding the process behind the object is almost as important than the object itself. You are buying from an individual, with a vision and passion for their craft.
That’s why I would like to explain my process in a little more details.
I’ve made a video showing you all the different steps going on in the making of my products.
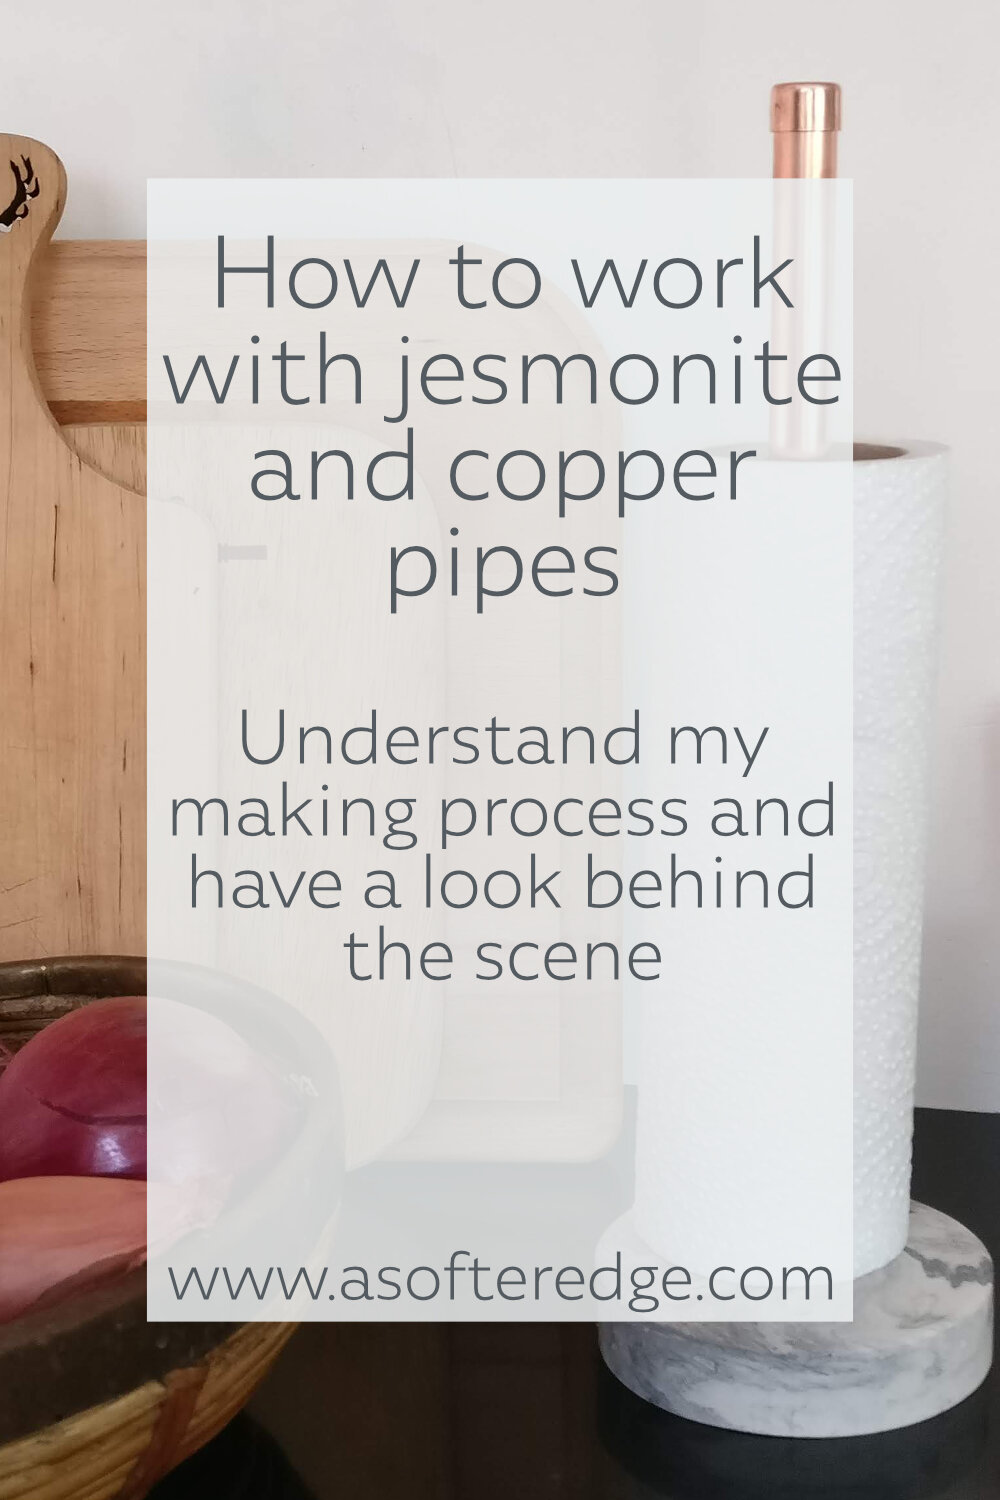
To keep it relatively short, I choose one of my first and best-seller design as an example: the kitchen roll holder. It’s a simple design but definitely makes an impact in your kitchen. It’s practical but also beautiful and add a little accent to a industrial kitchen look.
Even though I design many different products, my basic process stays relatively the same for each of them. Some are more complex and require more material and bigger moulds but the essential process is almost identical.
The materials I use
Before we get into the nitty gritty, I thought you might want to know more about the materials I use in my design and why I choose those to work with.
The main two materials I use are copper pipes and jesmonite resin.
Copper pipes
I started working with copper pipes a few years ago and I quickly became addicted. I’ve always been interested in working with metal but I just didn’t have a space that allowed me to use welding techniques.
With copper pipes, you get the flexibility of using metal without doing any soldering at all.
You can easily assemble the pipes in an array of shapes and create a white range of frames.
Copper also looks gorgeous. Whether you like it pink and shiny or muted and brown, you are almost certain to find some space for it in your home.
I think copper has that WOW factor. It’s a little more unusual than steel or brass and can really make a big impact.
For all these reasons, I love creating small furniture using copper pipes.
Jesmonite
First you might be asking yourself “What is jesmonite?” Well, jesmonite is a water-based resin that you can easily use for casting.
It’s a none-toxic, durable and flexible material.
Once upon a time, I worked with concrete but I was never really satisfied with the end result. Concrete is a very tricky material to use properly. It’s temperamental and unpredictable and no 2 batches give you the same results. It also tends to crack with time unless you add a lot of chemicals to it.
With jesmonite, you can produce a finish that’s very close to concrete but you can also easily play with it to create a wide range of finishes and colours. It’s a lot more fun and very flexible. Its durable and quick to set. It’s even water and weatherproof.
It’s a dream material for a maker like me. You can easily control the outcome and it provides sturdy and reliable end products.
I wouldn’t go back to working with concrete for anything.
But the magic happens when you combine these two. Mixing metal and resin, you can start to design very interesting furniture, from small to quite large pieces. There is no end to what is possible!
My process - step by step
For those of you who can’t watch the video, here is a little recap.
The first step when making this stand is to make the jesmonite base, which is similar to baking in many ways:
First I need to weight the right amount of jesmonite. Jesmonite is made of 2 parts, a powder and a liquid. I need to use the right ratio of powder to liquid and also make enough resin to fill my mould
Then I stir the 2 parts together until I have a smooth batter-like liquid. I use a whisk to do so. It’s very similar to mixing pancake batter.
Next, I add pigments to the smooth liquid to create the desire effect. Here I’m making a concrete effect so I added just a drop of black pigment to reach that perfect shade of grey.
Once I’m happy with the colour, I pour the mixture into a silicone mould and let it set for 25 minutes.
While the jesmonite is hardening, I can start cutting and assembling the copper part:
I need to measure and mark the copper pipes for the length I need and using a pipe cutter, I just cut the copper to the desired size
Then I attached the end fitting (here, an ‘end cap’) to the pipe using epoxy glue and leave it to dry.
Once the glue had dried, I use steel wool to clean any marks off the copper and make it super shiny.
Once the jesmonite base has had time to set, I remove it from the mould. I sand any marks or extra bits to make it smooth.
Finally it’s time to attached the copper part to the base, once again using epoxy glue.
Et voil`a! A kitchen roll holder ready for your home.
Want to see more?
I hope you enjoyed watching how I work. If you are interested in learning more about my process, make sure to follow me on Pinterest, Instagram or TikTok @asofteredge (I often share my process on stories) or on You Tube
You can also join my monthly newsletter :)


